Why It Is Important To Install Artificial Grass
There are many things to consider when installing Artificial Grass in Melbourne And while grass quality will play a vital role in the overall appearance of your new artificial grass, it is ground preparation and using the correct weed membrane system that will make all the difference when it comes to longevity and weather performance.
In this complete guide to installation, we’ll explain why it is so important to install artificial grass with a two-layer weed membrane system and provide you with our top tips on how to achieve a professional goal.
The Importance of Artificial Grass
When calculating artificial grass cost, you should factor in the additional expenses of weed membrane and installation essentials such as joint tape, joint adhesive, and securing U-pins. Without these items, you will not achieve the professional look that you are going for, and your artificial grass will not last.
Some fake grass retailers may suggest that you don’t need weed membrane, but it is essential when installing a artificial grass. Even if you pre-treat your ground soil with weed killer, it is highly likely that some seeds will be left behind. These seeds could sprout after the first heavy rain, causing an uneven surface, and ruining the appearance of your artificial grass.
At Grassman artificial turf suppliers, we use heavy-duty 70gsm weed membrane to prevent weeds growing up through the sub-base and the final layer of artificial grass. When installing, we overlap all joints by at least 200mm (8 inches) to restrict sprouting, so when doing it yourself, you should purchase more weed membrane than the AstroTurf you are fitting. An additional 10% should be sufficient.
In addition to preventing weed growth, weed membrane prevents the sub-base layer mixing with the underlying soil, which can lead to shifting and settlement and cause irregularities in your artificial grass. Think of it like laying the foundations for a new house. It prevents weed growth, stops the sub-base layer from spreading, and creates a smooth, balanced platform to apply your new turf. It’s an investment that can help avoid serious issues down the line.
So Why Two Layers?
We recommend fitting two layers of weed membrane, one under the sub-base and a second above the sub-base before installing the artificial grass. By doing this, you’ll never have to worry about weeds popping up through your artificial grass, and you will have excellent foundations for drainage. You could save money by fitting just one layer, but it could end up costing you more in the long run. We firmly believe that superior artificial grass is an investment for family homes, commercial spaces, and business premises, and so it makes sense to install it properly.
How To Install Artificial Grass
Artificial grass is a versatile landscaping material that you can install on almost any surface including, concrete and wooden decking, with most installations on ground soil using the correct sub-base. Different surfaces require different ground preparation methods, but they all need an effective weed membrane system to prevent weeds from penetrating the sub-base material and ruining the appearance of your artificial grass.
Grassman artificial turf suppliers has devised an innovative six-stage installation plan that guarantees perfect results every time. If you would like to have a go at fitting imitation grass yourself, the following steps will help you achieve your landscaping goals:
Step 1: Excavation
If you are replacing your existing grass with artificial grass, the first thing you need to do is remove the natural turf and any paving so that you have clean foundations. Excavation is a messy job, and if you don’t have access to professional tools, you need to take extra care not to damage the surface below. As a guideline, you need to excavate approximately 75mm (3″) below any path, paving or required artificial grass finish height to achieve the perfect finish.
Step 2: Weed Membrane Layer 1
With your ground surface prepared, the next stage is to apply the first layer of weed membrane. This initial covering will stop deep soil weeds from growing, create a protective barrier against worms and other insects, and it will ensure that the sub-base drains correctly. Apply it as you would any landscaping fabric, but be sure to overlap any joints by at least 20cm to create an impenetrable layer.
Step 3: Sub-Base Creation
Artificial grass requires a sub-base, and while different companies recommend different options, we believe compacted recycled ash to be the best base material for synthetic turf due to its fantastic drainage properties. If your artificial grass doesn’t drain well, you could have all kinds of problems with waterlogging, not to mention mould, mildew, and bacteria, particularly if you have pets that urinate on the grass.
We suggest using approximately 70mm of compacted ash to create your sub-base, spread evenly across the surface of the landscaped area.
Step 4: Weed Membrane Layer 2
A second weed membrane layer will ensure that your imitation grass remains weed-free for years to come while protecting the latex backing. It helps drain dog urine away from the surface to remove any unpleasant odours and creates an even surface for applying your fake grass.
You should apply the second layer of weed membrane in the same way as the first layer, overlapping the joints for a secure seal.
Step 5: Lay Artificial Grass
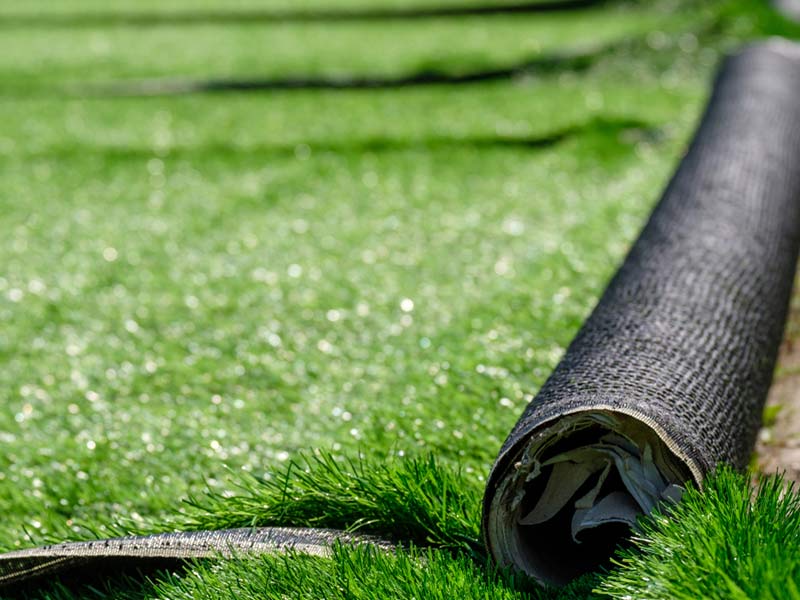
Now you can get to the fun part of laying your artificial grass. With superior turf by Artificial Super Grass, this part is simple. Just roll it out, trim it to size and secure it into place using rust-resistant 150mm galvanised U-pins.
When cutting it down, leave a 10cm margin to play with and do the final trimming once it is in place. Cutting it too short could be a very costly exercise, and you’ll have a lot of extra work trying to fill in the gaps.
When joining two pieces of artificial turf together, make sure that the pile is going in the same direction for a uniformed finish. It will usually lean towards one direction when you first unroll it, but it soon straightens with a stiff broom or power brushing. You’ll need approximately 100 U-pins per 10m2 of synthetic grass, and both joint tape and joint adhesive to secure pieces together.
Step 6: Power Brushing
The final stage in installing Artificial Grass in Rotherham is power brushing with a stiff broom or a professional power brush to elevate every blade, they are a great way to keep your synthetic-grass in perfect condition.
You may have seen people using regular hoovers on their fake grass which is also fine or a garden blower which will keep your grass looking flawless and more realistic than you ever thought possible.
The Benefits of Professional Artificial Grass Installation
While installing synthetic grass can be incredibly rewarding if you are a gardening enthusiast and a dab-hand at DIY, it is not for everyone. If you are not confident in your abilities and are worried about destroying your newly purchased astroturf, you should consider employing the professionals.
When you have artificial grass fitted by Artificial Super Grass, you won’t have to lift a finger. We take care of everything from the initial groundwork and excavation, all the way through to power brushing and waste disposal. We have years of experience in installing artificial grasss, and we can landscape smaller spaces in just a day. Professional installation costs less than you think, and it’s a small price to pay for peace of mind.
If you do decide to fit it yourself, remember the two weed membrane rule, and your artificial grass will look fabulous for years to come.


